Refer and earn for every successful referral. Also, the most active user wins ₦5,000 in cash!
, Check Verification Solution Hub Groups Pages Market Events Blogs Funding Offers Jobs Courses Movies Games Merits
Method 2: Converting a Website into an Android App Using Android Studio
I'll provide a comprehensive step-by-step guide on converting a website into an Android app using Android Studio, including all the requested features. Let's get started.
Step 1: Set Up a New Android Studio Project
- Open Android Studio.
- Click on "Start a new Android Studio project".
- Select "Empty Activity" and click Next.
- Name your application (e.g.,
MyWebApp). - Choose Java or Kotlin as the language.
- Click Finish to create your project.
Step 2: Add WebView to Load Website
Modify AndroidManifest.xml
- Open
AndroidManifest.xmland add internet permission:<uses-permission android:name="android.permission.INTERNET"/> - Add
WebViewto youractivity_main.xml:<androidx.constraintlayout.widget.ConstraintLayout xmlns:android="http://schemas.android.com/apk/res/android" xmlns:app="http://schemas.android.com/apk/res-auto" xmlns:tools="http://schemas.android.com/tools" android:layout_width="match_parent" android:layout_height="match_parent" tools:context=".MainActivity"> <WebView android:id="@+id/webView" android:layout_width="match_parent" android:layout_height="match_parent" /> </androidx.constraintlayout.widget.ConstraintLayout>
Modify MainActivity.java
package com.example.mywebapp;

import android.annotation.SuppressLint;
import android.graphics.Bitmap;
import android.os.Bundle;
import android.view.View;
import android.webkit.WebChromeClient;
import android.webkit.WebResourceRequest;
import android.webkit.WebSettings;
import android.webkit.WebView;
import android.webkit.WebViewClient;
import android.widget.ProgressBar;

import androidx.appcompat.app.AppCompatActivity;

public class MainActivity extends AppCompatActivity {

    private WebView webView;
    private ProgressBar progressBar;

    @SuppressLint("SetJavaScriptEnabled")
    @Override
    protected void onCreate(Bundle savedInstanceState) {
        super.onCreate(savedInstanceState);
        setContentView(R.layout.activity_main);

        webView = findViewById(R.id.webView);
        progressBar = findViewById(R.id.progressBar);

        WebSettings webSettings = webView.getSettings();
        webSettings.setJavaScriptEnabled(true);
        webSettings.setDomStorageEnabled(true);

        webView.setWebViewClient(new WebViewClient() {
            @Override
            public boolean shouldOverrideUrlLoading(WebView view, WebResourceRequest request) {
                view.loadUrl(request.getUrl().toString());
                return true;
            }

            @Override
            public void onPageStarted(WebView view, String url, Bitmap favicon) {
                progressBar.setVisibility(View.VISIBLE);
            }

            @Override
            public void onPageFinished(WebView view, String url) {
                progressBar.setVisibility(View.GONE);
            }
        });

        webView.setWebChromeClient(new WebChromeClient());
        webView.loadUrl("https://www.example.com"); // Replace with your website URL
    }

    @Override
    public void onBackPressed() {
        if (webView.canGoBack()) {
            webView.goBack();
        } else {
            super.onBackPressed();
        }
    }
}
Step 3: Add Splash Screen
-
Create a new
SplashActivity.javafile:package com.example.mywebapp; import android.content.Intent; import android.os.Bundle; import android.os.Handler; import androidx.appcompat.app.AppCompatActivity; public class SplashActivity extends AppCompatActivity { @Override protected void onCreate(Bundle savedInstanceState) { super.onCreate(savedInstanceState); setContentView(R.layout.activity_splash); new Handler().postDelayed(() -> { startActivity(new Intent(SplashActivity.this, MainActivity.class)); finish(); }, 3000); // 3-second delay } } -
Create
activity_splash.xml:<LinearLayout xmlns:android="http://schemas.android.com/apk/res/android" android:layout_width="match_parent" android:layout_height="match_parent" android:gravity="center" android:background="@color/white" android:orientation="vertical"> <ImageView android:layout_width="wrap_content" android:layout_height="wrap_content" android:src="@drawable/logo" /> </LinearLayout> -
Set
SplashActivityas the launcher inAndroidManifest.xml:<activity android:name=".SplashActivity"> <intent-filter> <action android:name="android.intent.action.MAIN"/> <category android:name="android.intent.category.LAUNCHER"/> </intent-filter> </activity>
Step 4: Add Offline Support
Modify MainActivity.java:
@Override
public void onReceivedError(WebView view, int errorCode, String description, String failingUrl) {
    webView.loadUrl("file:///android_asset/offline.html");
}
Create offline.html inside assets folder:
<!DOCTYPE html>
<html>
<head>
    <title>No Internet</title>
</head>
<body>
    <h2>You are offline</h2>
    <p>Please check your internet connection.</p>
</body>
</html>
Step 5: Add Push Notifications (Firebase)
- Add Firebase to your project from the Firebase Console.
- Add the
google-services.jsonfile to your app. - Modify
build.gradle (app):implementation 'com.google.firebase:firebase-messaging:23.0.0' - Create
FirebaseMessagingService.java:package com.example.mywebapp; import android.app.NotificationChannel; import android.app.NotificationManager; import android.os.Build; import androidx.core.app.NotificationCompat; import com.google.firebase.messaging.FirebaseMessagingService; import com.google.firebase.messaging.RemoteMessage; public class MyFirebaseMessagingService extends FirebaseMessagingService { @Override public void onMessageReceived(RemoteMessage remoteMessage) { NotificationManager notificationManager = (NotificationManager) getSystemService(NOTIFICATION_SERVICE); if (Build.VERSION.SDK_INT >= Build.VERSION_CODES.O) { NotificationChannel channel = new NotificationChannel("default", "Default Channel", NotificationManager.IMPORTANCE_HIGH); notificationManager.createNotificationChannel(channel); } NotificationCompat.Builder notificationBuilder = new NotificationCompat.Builder(this, "default") .setContentTitle(remoteMessage.getNotification().getTitle()) .setContentText(remoteMessage.getNotification().getBody()) .setSmallIcon(R.drawable.ic_notification) .setAutoCancel(true); notificationManager.notify(1, notificationBuilder.build()); } }
Step 6: Customize Navigation and Status Bar
Modify styles.xml:
<item name="android:statusBarColor">@color/black</item>
<item name="android:navigationBarColor">@color/black</item>
Step 7: Publishing to Google Play
- Generate Signed APK:
- Go to Build > Generate Signed Bundle/APK.
- Select APK, create a new keystore, and sign your app.
- Upload to Google Play Console:
- Create a developer account.
- Prepare a store listing (title, description, screenshots).
- Upload your signed APK.
- Set pricing, distribution, and content rating.
- Submit for review.
This guide provides a full working solution for converting your website into an Android app. Let me know if you need more details!
Categories
- Make Money
- Product Review
- Social Media
- Excel
- Graphics design
- Freelancing/Consulting
- E-commerce and Digital Marketing
- Business
- Self Development
- Tips to Success
- Video Editing
- Photo Editing
- Website Promotion
- YouTube
- Computer
- Phone
- Music
- Spirituality & Faith
- School
- Tech & Digital
- Gaming
- News
- Digital Economy / Technology
- Relationship
- Real Estate
- Creative Arts & Design
- Medical
- Causes
- Networking
Read More
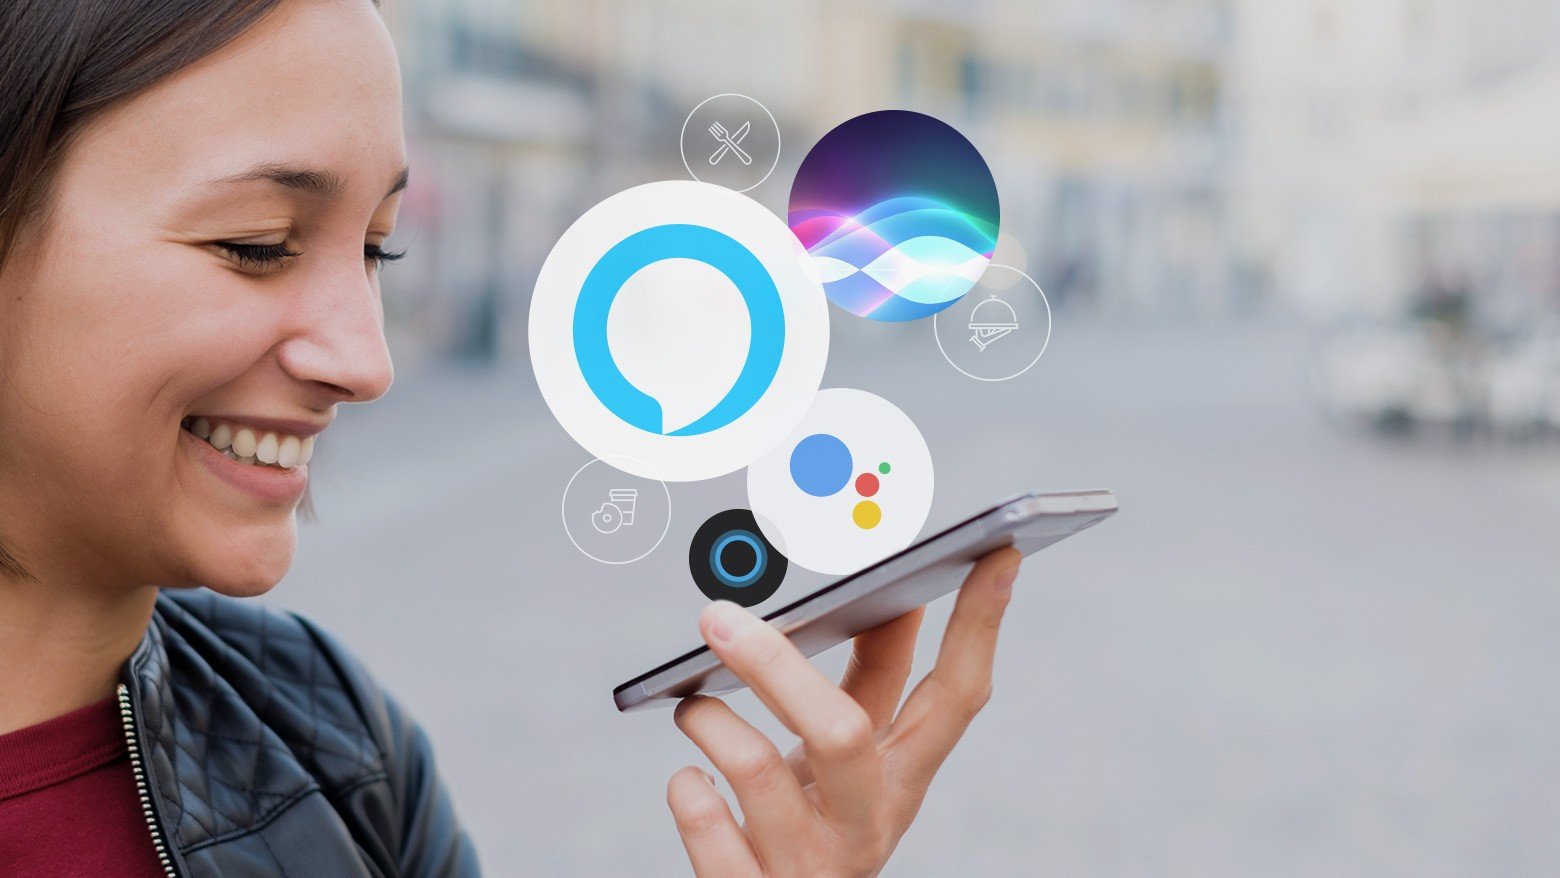
Voice search is no longer a futuristic novelty; it's a game-changer shaping the way people interact with the internet. With smart speakers like Amazon’s Alexa, Google Assistant, and Siri becoming household staples, websites need to adapt to this growing trend. The big question is: is your website ready for voice search? We’ll walk you through five key ways to assess and prepare...
Why Skills, Content, and Online Presence Matter More Than Job Titles For decades, careers followed a predictable path:education → job → promotion → retirement. That model is breaking. Today, the fastest-growing careers are not defined by offices or employers—they are built around digital assets. And for Gen Z and young Africans, this shift is opening doors that never...

In the past, having a good idea was rarely enough to generate income. Ideas needed factories, investors, physical infrastructure, and long approval processes. Today, that reality has changed. Young innovators across the world are proving that ideas—when paired with execution and digital leverage—can become income-generating assets. The modern economy rewards problem-solvers, not...

Corruption is one of the most persistent cancers eating deep into the fabric of Nigeria’s national identity. It weakens governance, drains public funds, cripples innovation, and erodes public trust. From inflated contracts to electoral manipulation, bribery, nepotism, and mismanagement of public resources, corruption has become a systemic issue that has haunted Nigeria since independence....

Starting a business with one or more partners can be an exciting journey. However, even the closest friends or family members can run into misunderstandings when money, responsibilities, and profits are involved. That’s where a Partnership Agreement comes in — a legal document that clearly defines each partner’s role, rights, and obligations within the business. If...